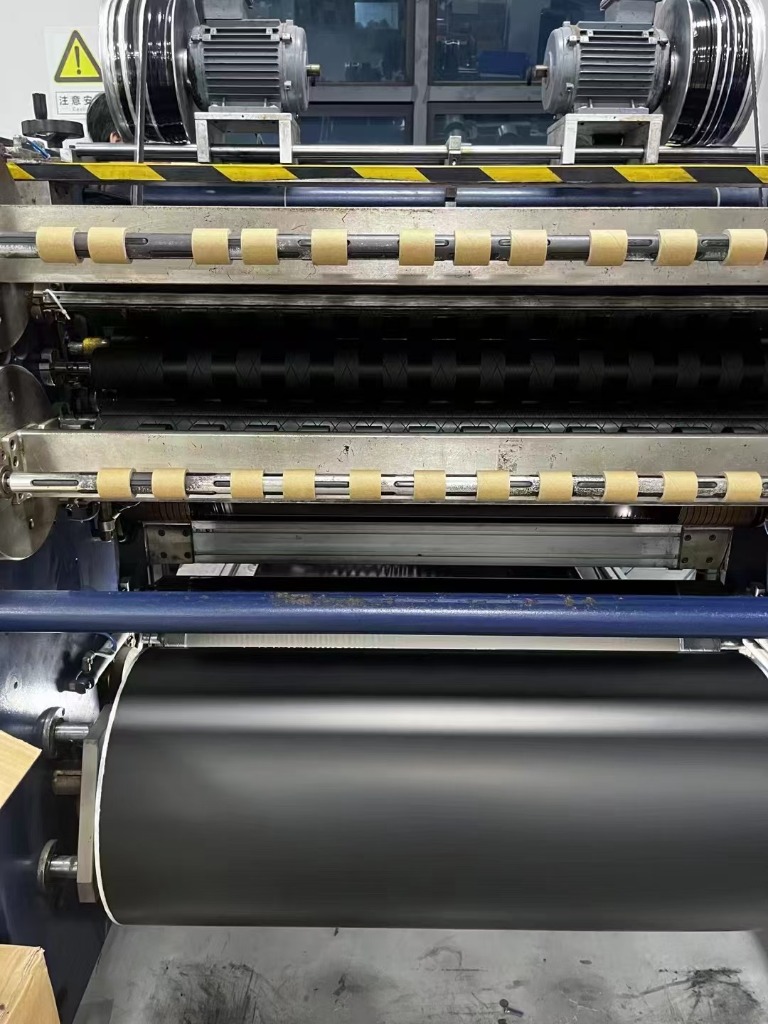
A correct thermal transfer ribbon order is a matched system, not just a width-and-length pair. To specify one, record the exact printer model, flat-head or near-edge printhead, label and liner width, ribbon width and length, core inside diameter and width, maximum roll outside diameter, coated side, winding direction, color, and core notch or drive details. The printer manual and a trial on the production label are the final checks; a brand name or an old roll described only as “standard” is not enough for a safe purchase.
Thermal Transfer Ribbon Size: The Short Answer
Start with the exact printer model, then match the ribbon to both the media path and the ribbon compartment. Width must cover the area required by the printer maker, taking account of the label, exposed liner, printable area, and printhead-protection guidance. Length is acceptable only when its core and finished roll also fit. Finally, coated side, winding direction, core engagement, formulation, and color must agree with the intended printer and application.
Do not use one universal width overhang or assume that every roll with the same dimensions will load alike. Printer designs differ in spindle geometry, sensing, unwind path, and head technology. Approval therefore means checking the current printer manual, recording a complete specification, and testing the proposed construction with the production printer, production label, and representative settings before a volume order.
Ribbon Specification Quick-Reference Table
| Specification | What it describes | How to verify it | Risk if it is wrong |
|---|---|---|---|
| Ribbon width | Finished web width, normally stated in mm | Measure the roll and compare it with media width and the printer manual | Exposed media edges, tracking problems, or an unprotected printhead area |
| Ribbon length | Usable ribbon wound on the supply core | Check the printer’s supported ribbon capacity | The roll may not fit, or changeovers may be more frequent than expected |
| Core inside diameter | Opening that fits the supply spindle or adapter | Measure the inside diameter and inspect the core drive features | Loose fit, no fit, slippage, or poor sensing |
| Core width and material | Overall core length and the substance that engages the spindle or adapter | Measure the core, identify its material, and compare both with the model instructions | Side play, misalignment, weak engagement, or an adapter that cannot grip the core |
| Maximum roll outside diameter | Diameter of the complete new roll | Compare the finished roll with the printer’s available space | The cover may not close or the roll may bind |
| Coated side | Side carrying the transferable ink layer | Confirm the printer requirement and use an adhesive or scratch test only as an aid | No image transfer or incorrect loading |
| Winding direction | How the ribbon unwinds toward the print station | Follow the loading diagram for the exact model | Reversed feed path, wrinkling, or failure to print |
| Core notch or drive details | Features that transmit rotation or support end-of-ribbon sensing | Compare a known approved core and the printer diagram with the proposed core | Slippage, intermittent feed, poor take-up, or sensing errors |
How to Choose Thermal Transfer Ribbon Width
Width selection starts with the physical media roll, not the label name in a purchasing system. Measure the label face and the complete liner or backing at several points, then identify the widest printed element. A die-cut label can sit on a liner wider than its face, and a tag may have no liner at all. Give the supplier both media and liner measurements so that neither party silently treats the narrower value as the full media path.
Next, apply the printer manufacturer’s width rule. Some manuals describe ribbon relative to the media, partly to keep the printhead from contacting an uncovered abrasive edge. The official GK420t guidance, for example, says ribbon must be as wide as or wider than the media and warns that uncovered printhead areas may wear prematurely. That statement belongs to the Zebra GK420t family and its loading guidance; another exact printer model may define its supported range or margin differently.
This is why a universal overhang such as “add a fixed number of millimetres” is unsafe. Too narrow can expose part of the head, leave an outer print area without transferable coating, or create uneven tracking. Unnecessarily wide material can increase consumption and may extend beyond the model’s ribbon path. Select a standard finished width only after confirming that it covers the required media-plus-liner span without exceeding the exact printer’s supported ribbon-width range.
Also distinguish media width from printable width. The printhead-protection rule may refer to the complete media rather than the artwork. Record label face, liner, and printable area separately so a change in artwork or label construction can be reassessed.
Length, Core Size, and Maximum Roll Diameter
Treat ribbon length, core inside diameter, core width, and maximum finished-roll outside diameter as one fit system. Length affects changeover frequency, but it does not prove physical compatibility. The same nominal length can be wound with different film or coating constructions and winding tightness, producing a different roll build. Likewise, a core that fits the spindle may still be too wide, too narrow, too hard for an adapter, or missing the notch needed to transmit torque.
The official Zebra ZT231 ribbon specifications provide a useful model-specific example: for the ZT231, Zebra lists a 25 mm core inside diameter, a maximum ribbon length of 450 m, and a maximum roll diameter of 81.3 mm. Those figures describe the ZT231 and are not universal specifications for industrial printers, other Zebra families, or another manufacturer’s equipment. They should never be copied into an RFQ unless the exact printer model and its current manual support them.
A different fit envelope appears in Zebra’s ZD421/ZD621 non-Zebra 300 m ribbon instructions. For this named ZD421/ZD621 roll-ribbon setup, the guide calls for Zebra ribbon-core adapters and specifies a 25.4 mm inside core diameter, fiberboard core material, a 33–110 mm ribbon-width range, and a 66 mm maximum outside diameter. These are model-family and configuration requirements, not general desktop-printer values; cartridge variants or another exact model may use a different supply system.
Core width deserves its own RFQ field even when a manual emphasizes inside diameter. Measure a correctly functioning roll from end to end and record whether supply and take-up cores share the same width. Confirm material, notch, drive engagement, and adapters instead of relying on visual similarity.
Compare usable length only after rolls pass the fit check. A longer roll can reduce interventions, but not if it prevents the cover closing, rubs, or exceeds take-up capacity. Approve the construction first, then evaluate changeovers and pack quantity.
Flat-head and near-edge printheads
Printhead technology is a compatibility field, not a marketing label. Flat-head and near-edge printers have different heat-transfer dynamics and ribbon paths, so the supplier needs to know which technology the exact model uses before proposing a construction. Buyers sourcing a near-edge machine can review the near-edge ribbon series as a relevant starting point, while still checking the printer manual and application requirements.
Do not infer winding orientation from formulation alone. Wax, wax-resin, and resin describe broad coating families, while coated side and unwind path describe how the finished roll is converted for a printer. Different grades or printers can require different combinations, and not every grade shares the same winding requirement.
How to Identify the Ink Side
The coated or ink side is the face carrying material that transfers to the label under the printhead. “Ink side in” and “ink side out” describe where that face sits relative to the wound roll, but the loading diagram determines how the roll must travel through the printer. Use this bounded procedure when a loose sample or unidentified roll needs investigation:
- Read the exact printer loading diagram first.
- Press adhesive tape against each ribbon face and peel it away.
- Treat visible ink transfer as an indication of the coated face.
- If the result is unclear, use the manufacturer-described scratch test or ask the supplier to identify the winding specification.
- Do not use the test to override the printer’s required loading path.
Zebra’s GK420t ribbon overview describes adhesive and scratch tests for identifying the coated side and states that the GK420t accepts coating on the outside. That is a GK420t-specific requirement, not evidence that every thermal transfer printer uses the same coated side. When tape results are faint or both faces are contaminated, stop and request the supplier’s conversion record rather than guessing.
Keep coated side and winding direction as separate RFQ lines because similarly described rolls may unwind differently. Use a written specification or diagram to control repeat orders.
Six-Step Printer Compatibility Check
Follow the sequence without skipping from printer name to a guessed stock size:
- Record the complete printer brand and exact model. Include variant or suffix details shown on the production unit because closely named versions can use different ribbon systems.
- Confirm flat-head or near-edge printhead technology. Use the printer documentation, not an assumption based on enclosure shape or application sector.
- Measure the label, liner, and actual printable area. Use the production media roll and note whether the stated label width excludes an exposed backing edge.
- Check the allowed ribbon length, core, and maximum outside diameter. Approve core inside diameter, core width, material, adapter, and drive details together with the finished roll.
- Confirm coated-side orientation and winding direction. Compare the proposed roll specification with the loading diagram for the exact printer model.
- Validate on the production label and production printer. Run a representative sample using controlled settings, inspect image and handling, and document the approved construction before volume production.
This sequence separates mechanical fit from print performance. A roll can load yet have the wrong formulation for the face stock or exposure. After controlling dimensions, use the ribbon formulation selection guide and specify the tested supplier grade.
Formulation must be screened against label material and exposure. Relevant starting points include the wax ribbon series, wax-resin ribbon series, and resin ribbon series. Product-family links do not replace media-specific verification or prove printer compatibility.
Thermal Transfer Ribbon RFQ Template
Copy the following fields into an inquiry. Complete unknown items with “to be confirmed” rather than deleting them, so both parties can see what remains open.
Printer brand and exact model:
Printhead technology (flat-head or near-edge):
Label face stock and supplier grade:
Label width / liner width:
Requested ribbon width x length:
Core inside diameter / core width / core material:
Maximum finished-roll outside diameter:
Coated side (ink side in or ink side out):
Winding direction and core notch/drive details:
Ribbon formulation and color:
Application exposure and verification requirement:
Order quantity and individual packaging requirement:
When terminology differs, add photos of the supply roll, core ends, box label, and loaded path as supporting evidence, not substitutes for dimensions. Use a separate line item for each printer-and-media combination.
Describe relevant handling, abrasion, chemicals, outdoor conditions, or later processing in the exposure field and state how acceptance will be checked. Specify roll identification and packaging without assuming price, lead time, or supplier capability before review.
Common Ribbon Sizing Mistakes
Giving only the printer brand. A supplier may choose a roll for a familiar model while the buyer owns a different desktop, industrial, cartridge, or near-edge variant. The consequence can be a core that will not mount or a winding path that cannot reach the print station. Record the full nameplate model and relevant option.
Treating label-face width as ribbon width. This can ignore exposed liner or the printer maker’s head-protection rule. The result may be an uncovered media edge, premature wear risk, missing print at the edge, or tracking instability. Measure the production roll and separate face, liner, and print-area values.
Buying length without checking the fit system. A longer roll may exceed the ribbon compartment or take-up capacity even when its core opening looks correct. The cover can remain open, the roll can bind, or the operator may be unable to load it. Approve length, core inside diameter, core width, and finished outside diameter together.
Confusing coated side with winding direction. This can place the uncoated face against the label or route the ribbon away from the intended station. The immediate symptom may be no transfer, wrinkles, or wasted setup time. Specify both fields and attach the model’s loading reference when local terms are ambiguous.
Ignoring core material, notches, drive features, color, or packaging. A visually similar core may slip on the spindle or fail to engage an adapter, causing poor take-up or intermittent sensing. An omitted color can yield the wrong visual output, while weak roll identification can mix approved and unapproved constructions in a receiving area. Keep these fields in the purchase specification and on repeat-order records.
Approving only on substitute media. A clean image on an office test label does not establish results on the production face stock, adhesive construction, surface treatment, or operating environment. It can lead to failures discovered after labels enter use. Validate the proposed ribbon with the actual supplier grade of production label and representative printer settings, then retain the approved combination.
Frequently Asked Questions
Can thermal transfer ribbon be narrower than the label? Do not approve a narrower ribbon from label-face width alone. The relevant comparison may include the liner and the printer manufacturer’s printhead-protection instruction, so check the manual for the exact model and measure the production media.
How do I measure ribbon width and core size? Measure ribbon web width across the roll without including a projecting core, then record core inside diameter and total core width separately. Use suitable measuring equipment and compare the values with the printer manual or a controlled drawing rather than rounding to a familiar trade description.
How can I tell whether the ink side is in or out? Start with the roll label and exact printer loading diagram. An adhesive-tape or manufacturer-described scratch test can indicate which face is coated, but it cannot authorize a winding path that conflicts with the printer requirement.
Do same-width ribbons fit every printer? No. Rolls of the same web width can differ in length, core dimensions and material, maximum outside diameter, notches, sensing features, coated side, and winding direction. Every candidate needs an exact-model mechanical check plus application testing.
Is a longer ribbon always better? No. Extra length has value only if the complete wound roll, supply mechanism, and take-up system are approved for it. An oversized roll can bind or fail to load, so compare operating convenience only after dimensional compatibility is established.
Do wax, wax-resin, and resin ribbons use the same sizing rules? They share the need to verify width, length, core, roll diameter, and printer fit, but formulation selection depends on media and end use. Do not assume the same grades share printhead suitability, coated-side orientation, or winding requirement; specify and test the complete converted roll.
Final Specification Review
A reliable order is a controlled combination of printer, media, dimensions, core construction, winding, and formulation. Keep the approved sample or drawing with the purchase record, and recheck it when the printer variant, media supplier grade, artwork coverage, or application changes.
For an RFQ, send the completed specification for review. A review can identify missing fields and suitable items for evaluation, but compatibility should be confirmed only after the exact printer documentation and a trial with the production printer and label have been evaluated.